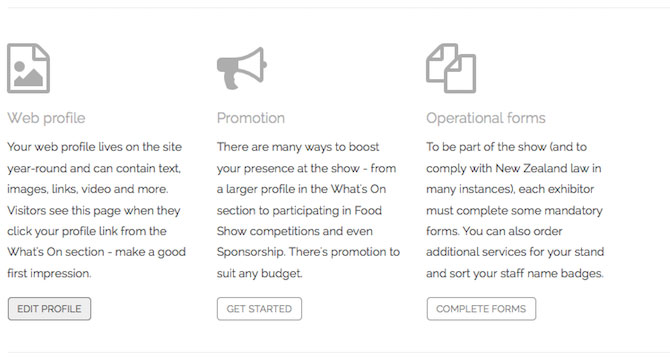
Free website profile
The exhibitor section (What's on) is amongst the most visited sections on a show's website. Your website profile page is a powerful and free tool, so be sure to include your show specials, competitions, and great looking images – this is what thousands of visitors are actively seeking when visiting the site.
Get started
- Prepare your text (including specials, competitions, and new product information)
- Choose your images (and other media if you have it)
- Create your profile using the steps below
What's involved?
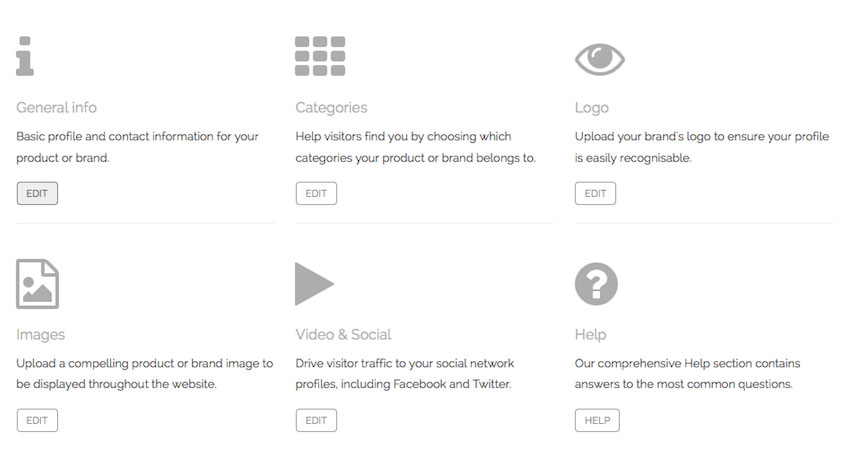
- Add your general profile information
- Choose your categories
- Upload your company logo
- Update your product image
- Add your online and social links to your profile
- Preview your profile page
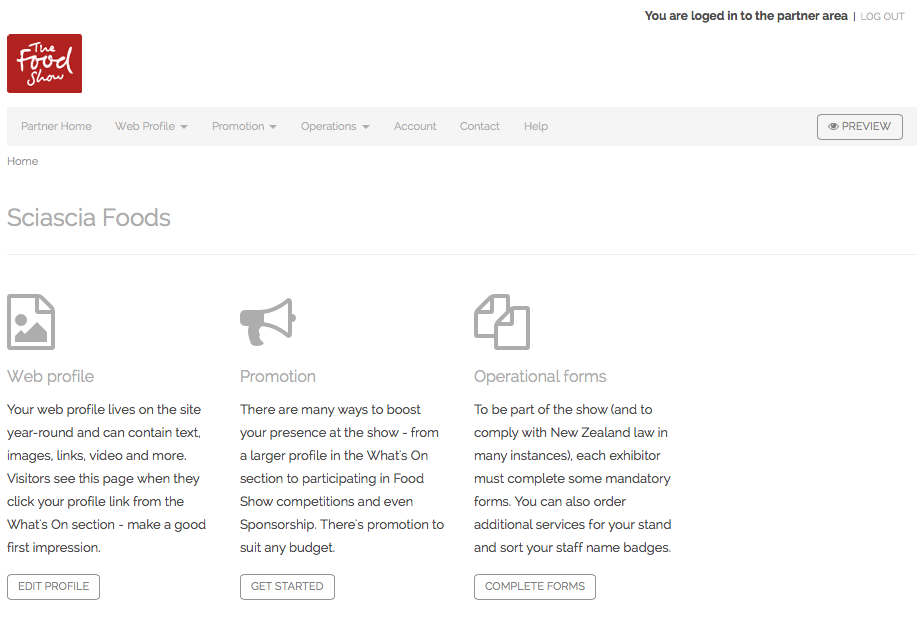
Partner home page
After logging in (see how here), your Partner home page will look like the screen shot below. From the menus across the top, you can manage your presence at the show:
- Your profile logo, images, text and social links
- Extra markting opportunities on The Food Show website
- Your opperational forms for managing your stand, staff badges and extra services such as gas for cooking
Edit your profile page
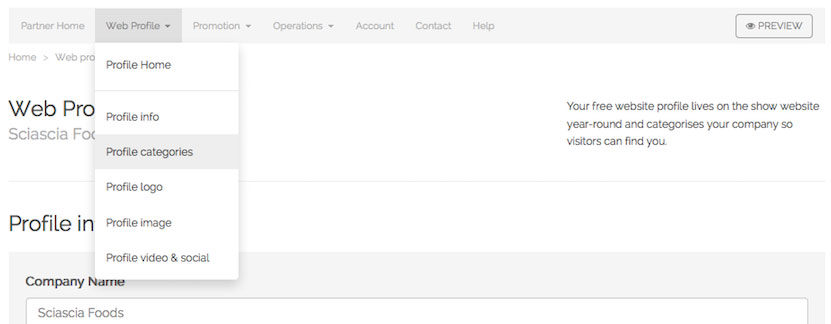
Click the “Edit Profile” button under the ‘Web Profile” column to bring up your profile page options.
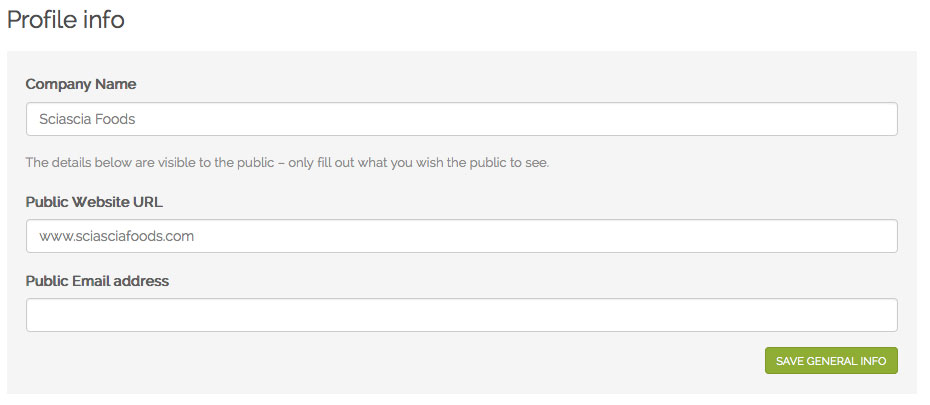
1. Edit your general information
Click on the “Edit” button under “General info” to add/change your basic profile and contact information for your product or brand. This information is what the public will see.
The first block is your general contact information – if a visitor wanted to touch base with you after the show, they would use these details to reach you. Enter your information and click “Save General Info” when finished.
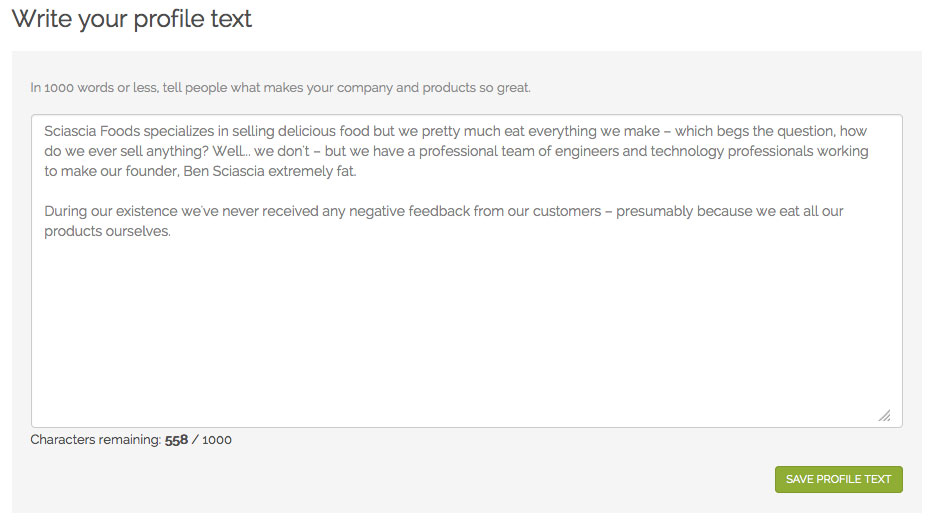
The second block is your profile text – this is your chance to tell everyone about your company and products. Enter your descriptions and information and click “Save Profile Text” when finished.
2. Choose your categories
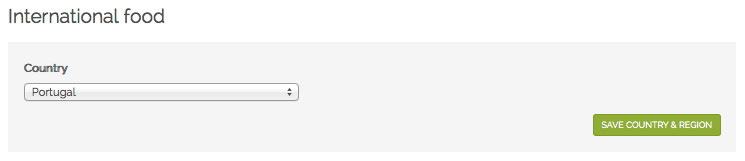
Using the top nav – choose to ‘Profile categories’.
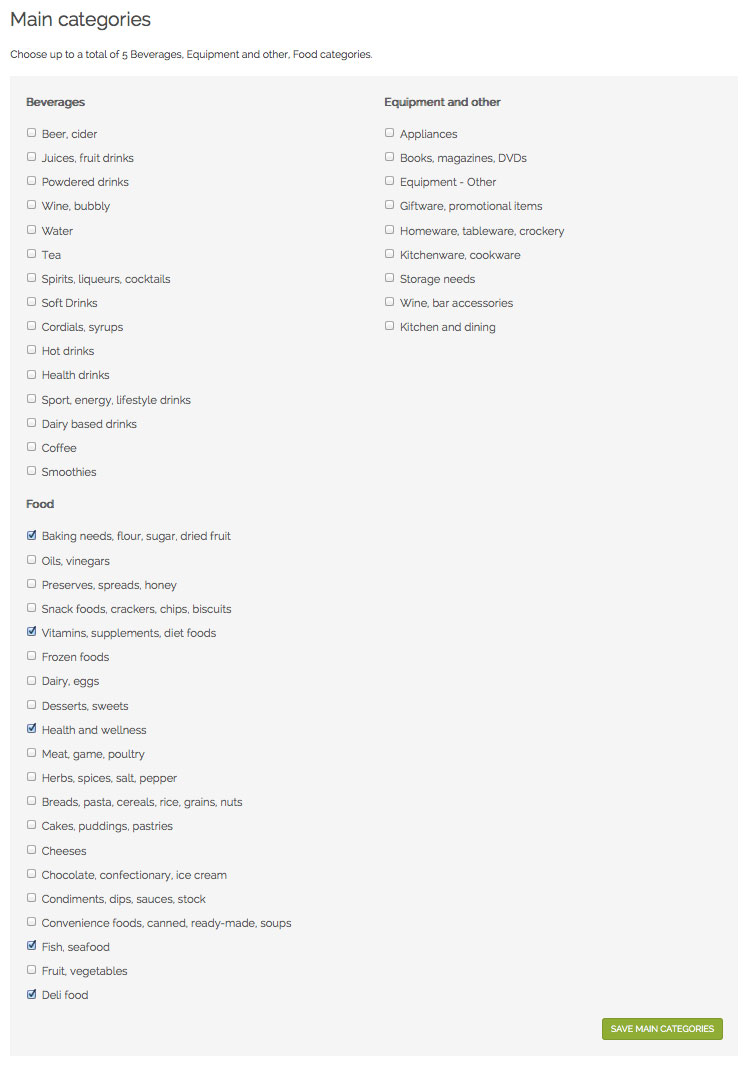
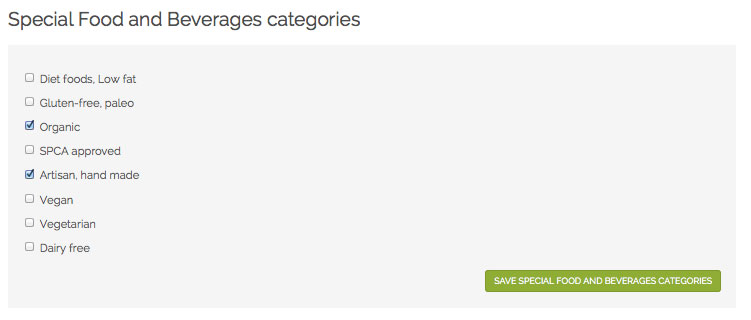
Tick the box next to all the categories that apply to your business. This will ensure visitors can find your brand based on the categories they search for.
Please ensure you save each individual category listing: in this example we have Main categories / Retailers categories / Special categories / International food.

3. Upload your company logo
Using the top nav – choose to ‘Profile Logo’
![]()
Upload an image to display as a product image, and a logo or image for your company.
![]()
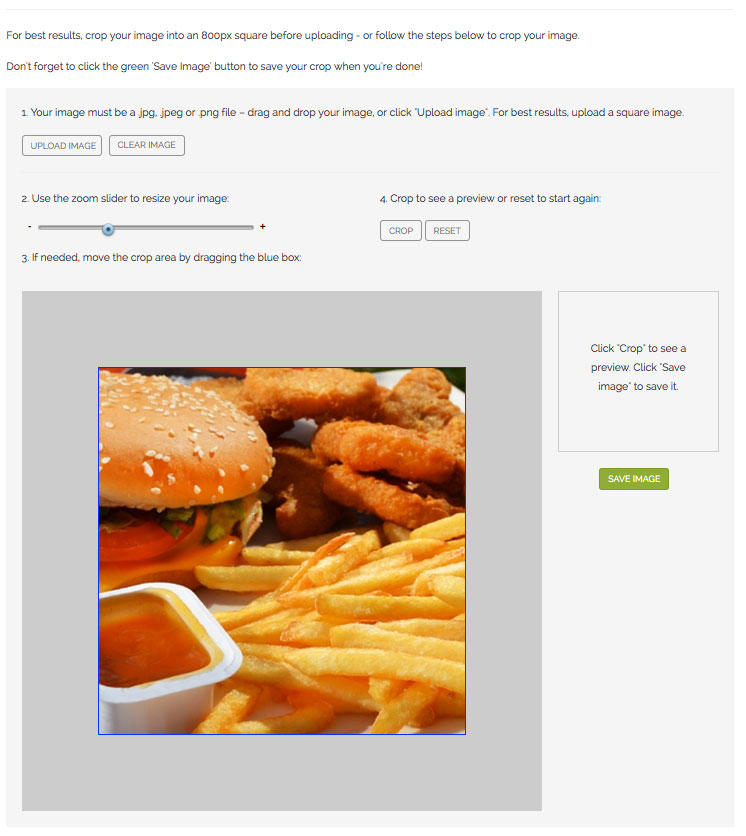
4. Upload a product image
Upload an image to display as a product image, which will appear in the “What’s On” section as well as your profile page. For best results, upload an image that has been cropped into a square - or you can crop your image using the limited cropping tools available on the site.
Don’t forget to save your image by clicking the green "Save Image" button.
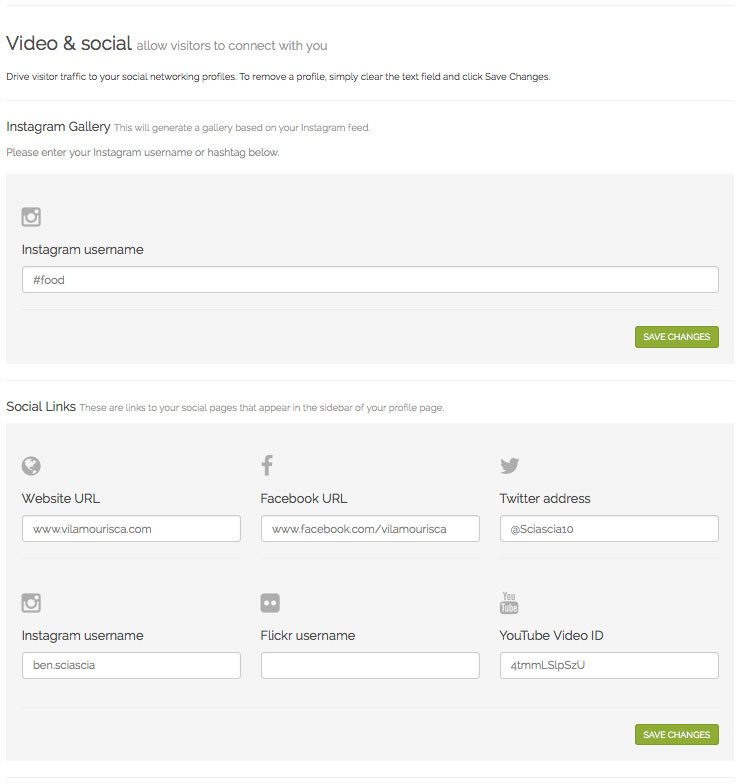
5. Insert your online links, social media information, and privacy policy
Enter the details of your online links (email, website URL) and any social media details (Facebook, Twitter, YouTube etc).
6. Preview your page
You can also preview your page by clicking the ‘preview’ button at the top left of the Partner nav bar.
