Complete your profile page
The What's on page is amongst the most visited pages on the show's website. This is where visitors pre-plan their show using the website's favourites feature and decide who they're going to see. Be sure to include great-looking images, your company's logo and compelling text.
Get started
- Prepare your intro text
- Prepare your image and company logo
- Note the addresses for your website, social profiles, a YouTube video (if you have one) and public contacts
- Create your profile using the steps below
What's involved?
- Add your general profile information
- Upload your company logo
- Update your product image
- Add your online and social links to your profile
- Preview your profile page
Partner home page
After logging in (log in), your Partner home page will look like the screen shot below. From the menus across the top, you can manage your presence at the show. Let's edit your profile page.
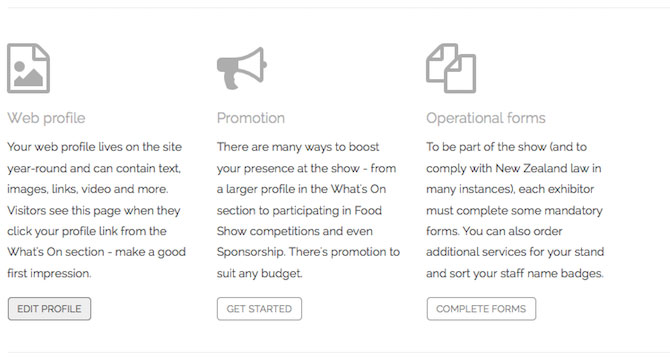
Edit your profile page
Click the “Edit Profile” button under the ‘Web Profile” column to bring up your profile page options.
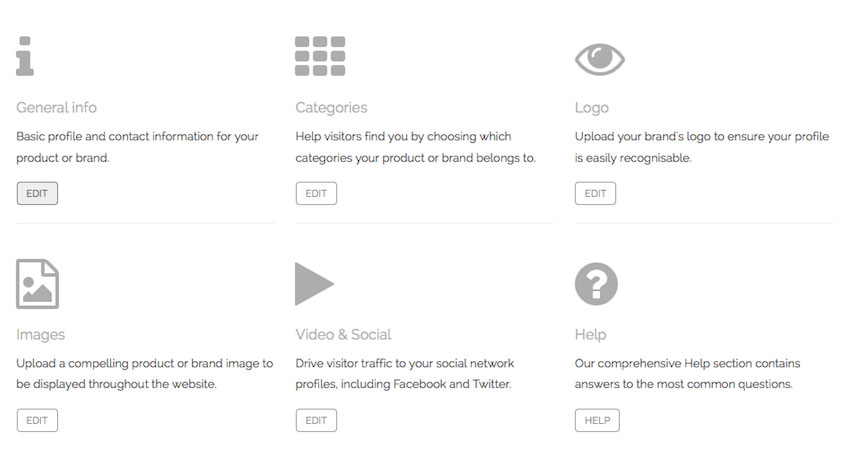
1. Edit your general information
Click on the “Edit” button under “General info” to add/change your basic profile and contact information for your product or brand. This information is what the public will see.
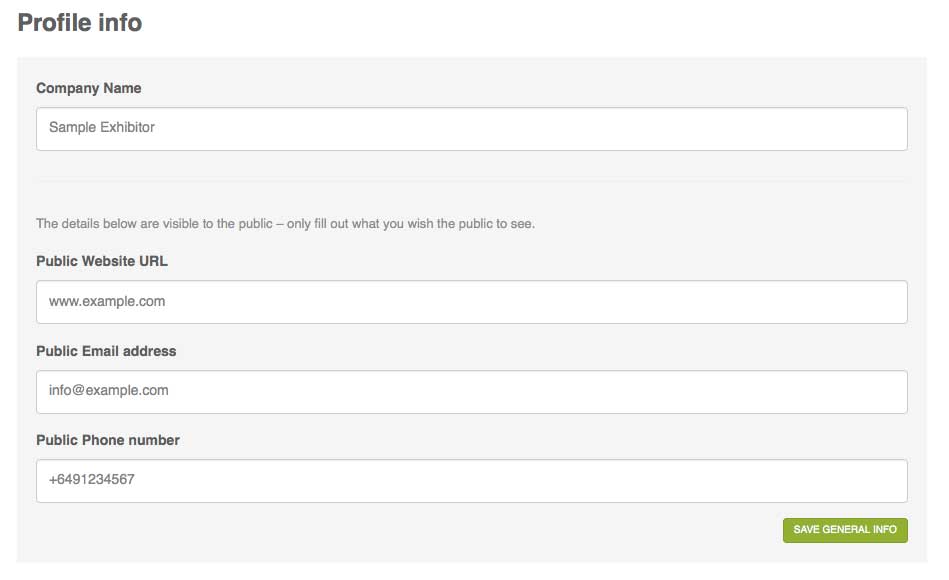
The first block is your general contact information – if a visitor wanted to touch base with you after the show, they would use these details to reach you. Enter your information and click “Save General Info” when finished.
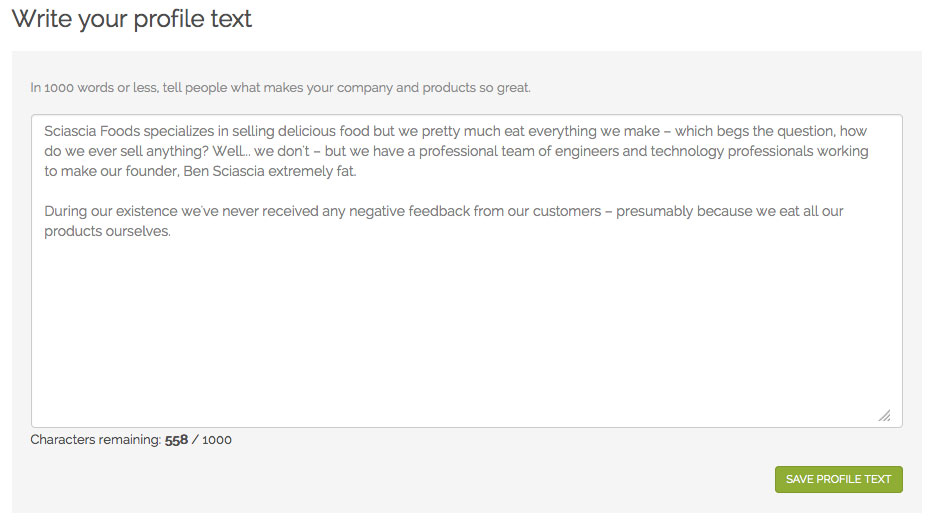
The second block is your profile text – this is your chance to tell everyone about your company and products. Enter your descriptions and information and click “Save Profile Text” when finished.
2. Upload your company logo
Using the top nav – Go > Web Profile > Profile Logo
![]()
Upload an image to display as a product image, and a logo or image for your company.
![]()
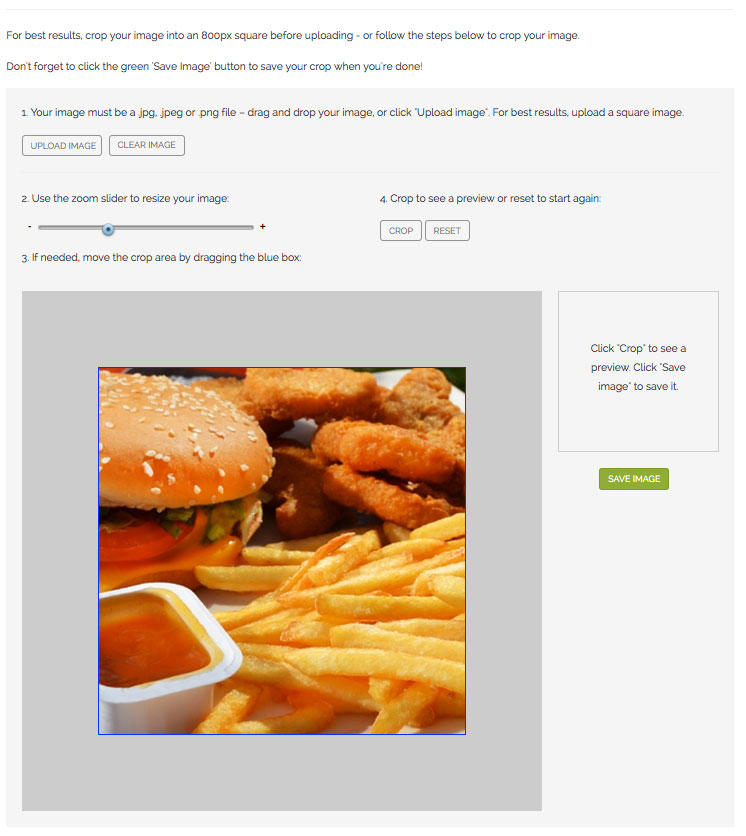
3. Upload a product image
Upload an image to display as a product image, which will appear in the “What’s On” section as well as your profile page. For best results, upload an image that has been cropped into a square - or you can crop your image using the limited cropping tools available on the site.
Using the top nav – Go > Web Profile > Profile Image
After cropping, don’t forget to save your image by clicking the green "Save Image" button to the right.
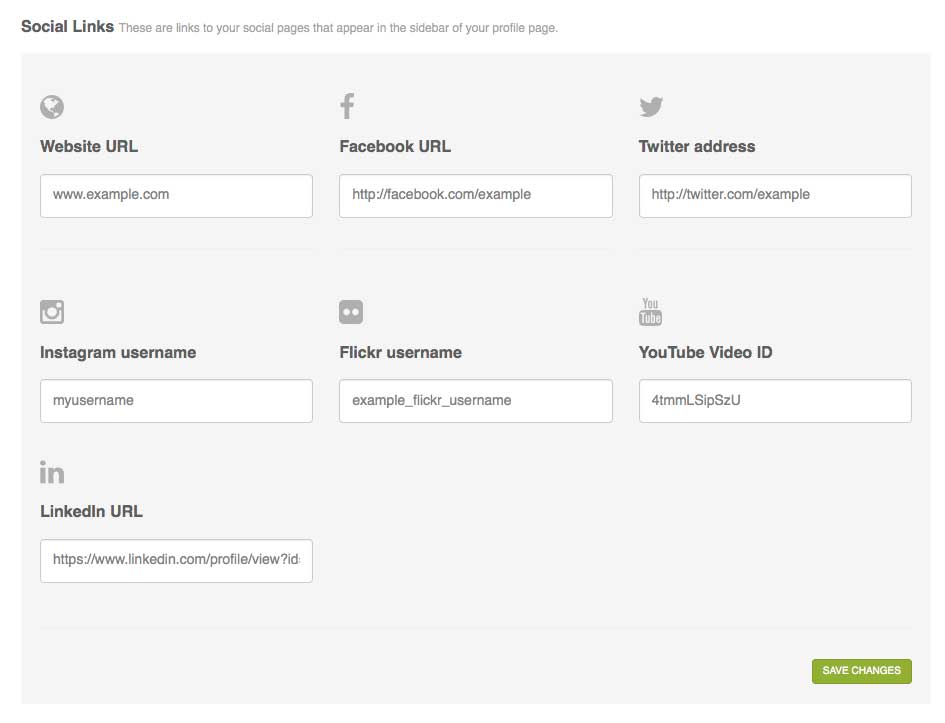
4. Insert your online links, social media information, and privacy policy
Enter the details of your online links (email, website URL) and any social media details (Facebook, Twitter, YouTube etc).
Using the top nav – Go > Web Profile > Video & social
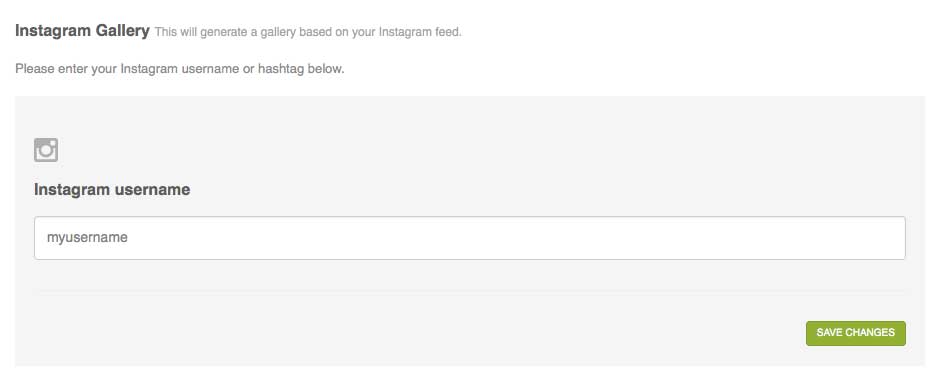
Important: The Instagram Gallery feature is no longer available.
5. Preview your page
Once saved, you can preview your page by clicking the ‘preview’ button at the top left of the Partner nav bar.

NOTE: The show website uses caching to speed up load times for visitors. But this means any changes you make may take up to 60mins to appear.